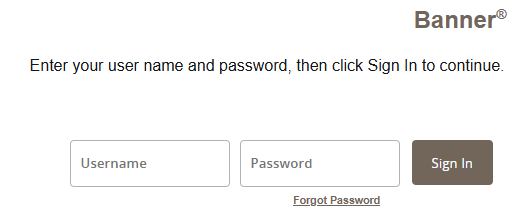
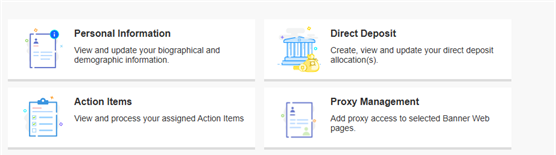
If you do not have access, please log an ihelp ticket.
Screenshot 1: A link has been added on the left-hand side at the bottom of the student profile page. You should be able to click on the link, and it will take you directly to Banner to view the student’s record release. Once the page opens, you will hit the tab key and then the GO button in the top right-hand corner.

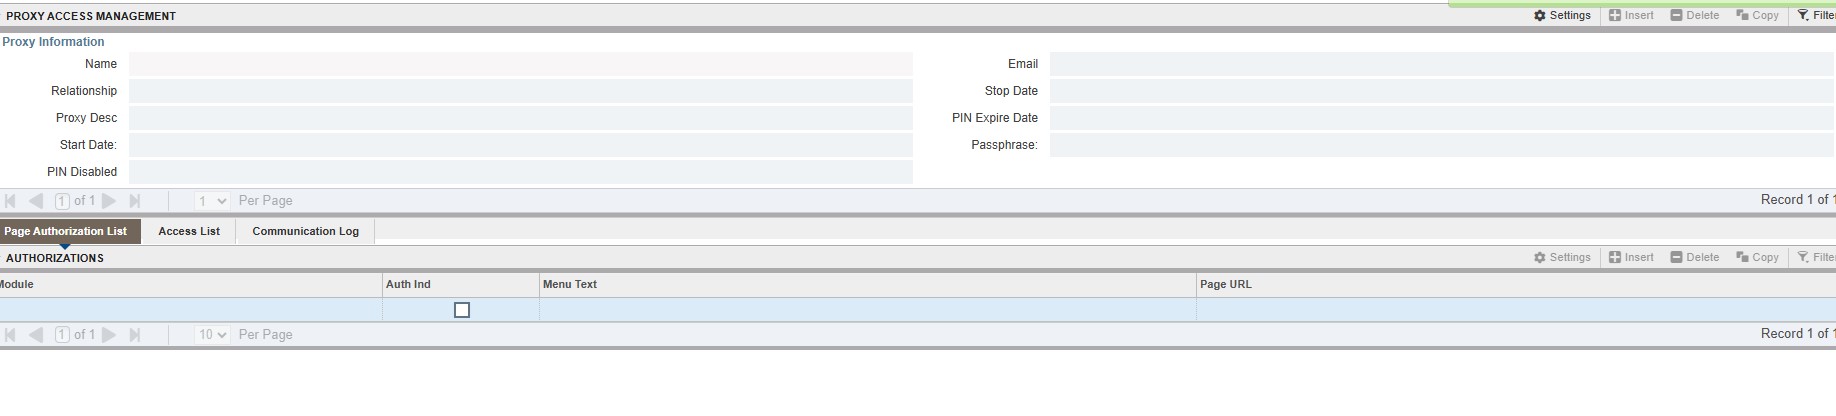
Screenshot 2: If the student has not set up their authorization (PROXY), it will look like this:
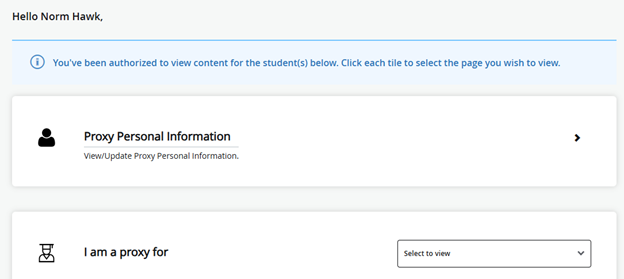
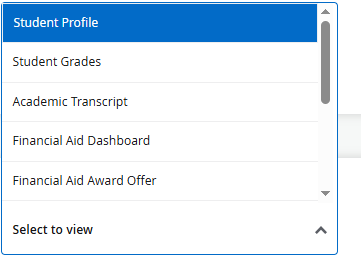
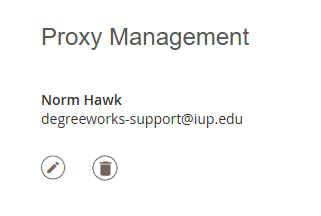
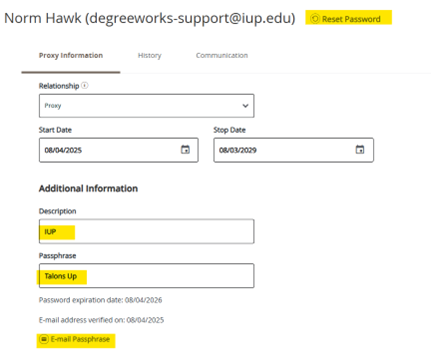
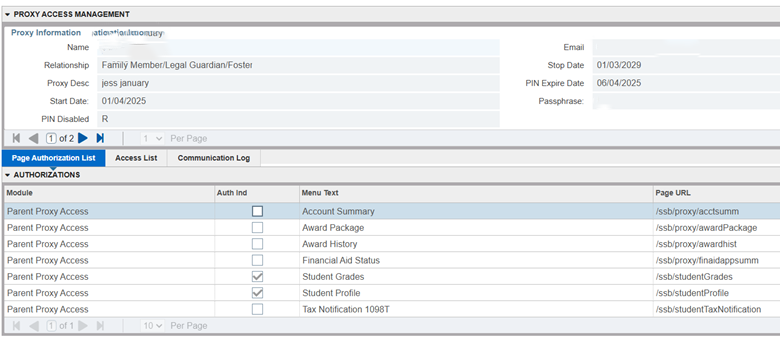
Screenshot 3: If the student did set up the authorization (PROXY), it will look like the screenshot below. At the top left-hand corner, you will be able to see who has authorized access. Please remember that if you do not have Banner access, you get an error message. Please use the link at the top of the page to log an ihelp ticket to obtain access.